Version 1
How does a user log in?
Guests of mine connect differently depending on which kind of device they are using. The easiest are mobile devices like smartphones and tablets; as long as they have line-of-sight to my QR code, they can point their camera at it and they’re in.

If my guest is using a laptop or desktop, they’re stuck with the ol’ fashioned way; they need to get the password (usually I use a mobile phone to read the current password because I don’t know it) and type it in with their hands.

Parts list
One of the following to be the base that gets built off of:
- Raspberry Pi Zero
- Raspberry Pi Zero with headers
- Raspberry Pi Zero 2
- Raspberry Pi Zero 2 with headers
A “brain” for the base:
- SD card
A screen for the QR code. I used an e-ink screen because they look nice and are low-power, but any screen compatible with the Raspberry Pi should suffice:
Possibly cables and headers. I did need GPIO headers for the Raspberry Pi, but my screen came with jumper cables so I didn’t need those:
Raspberry Pi setup
Raspberry Pis, though awesome, require a bit of setup before use
Baseline setup
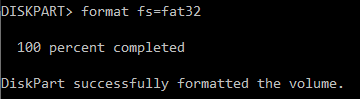
From a Windows machine, open a Command Prompt and type diskpart to use the diskpart tool.
diskpart
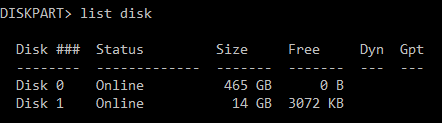
List the disks connected to the machine.
list disk
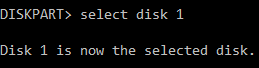
Choose the disk that you intend to write the Raspberry Pi Operating System (OS) to.
select disk 1
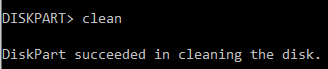
Clean the disk.
clean
Create a primary partition that can be formatted and written to.
create partition primary

Format the drive with a FAT32 filesystem.
format fs=fat32 quick
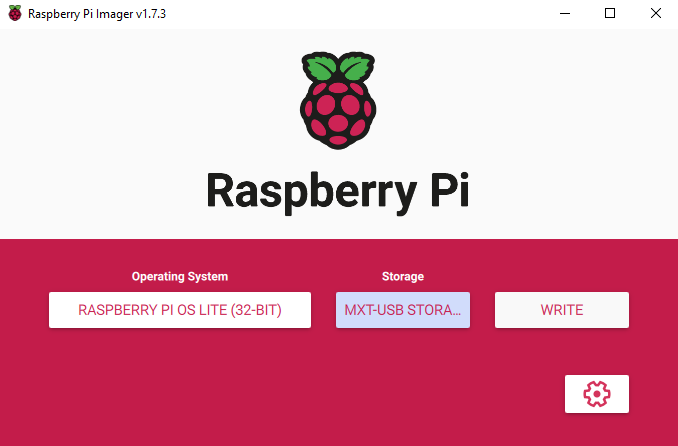
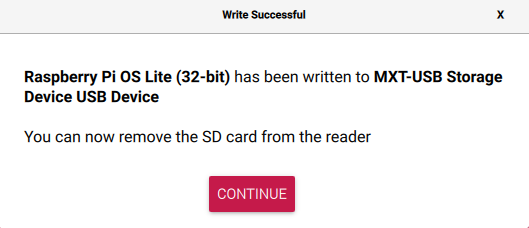
Download and use the Raspberry Pi Imager to burn the image on to the disk. The imager’s interface is pretty nice and allows for very easy SSH and wifi configuration (shown in a sec).
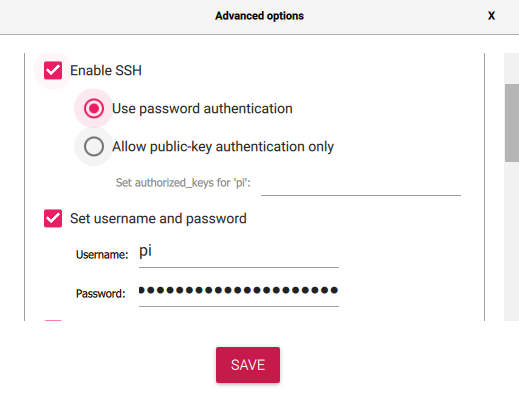
Within the “Advanced options” enable SSH and set the desired SSH username and password.
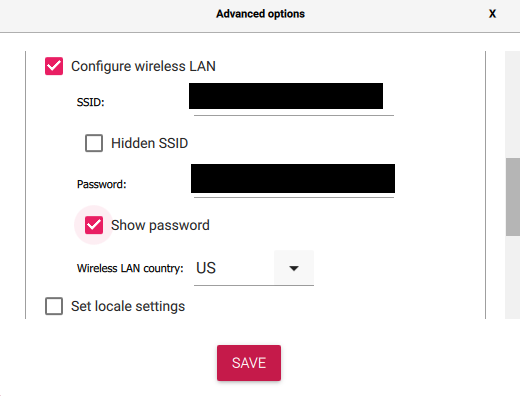
Configure the wifi settings so that the Raspberry Pi connects to the desired network. I had it connect to my IoT VLAN (not the guest network). My home network topology is beyond the scope of this guide, but it is important not to have the Raspberry Pi connect to the network whose password it will be changing.
Finally, burn the image to the disk.
NOTE: when you first boot the Raspberry Pi you may find that SSH is unstable. If that is the case it could be because of some flags set in the packets being sent and the way they interacted with your network; I was able to fix it by running the following command, substituting in the IP address of my Raspberry Pi.
ssh pi@pis.ip.add.res 'echo "IPQoS cs0 cs0" | sudo tee -a /etc/ssh/sshd_config && sudo reboot now'
Super shortcut
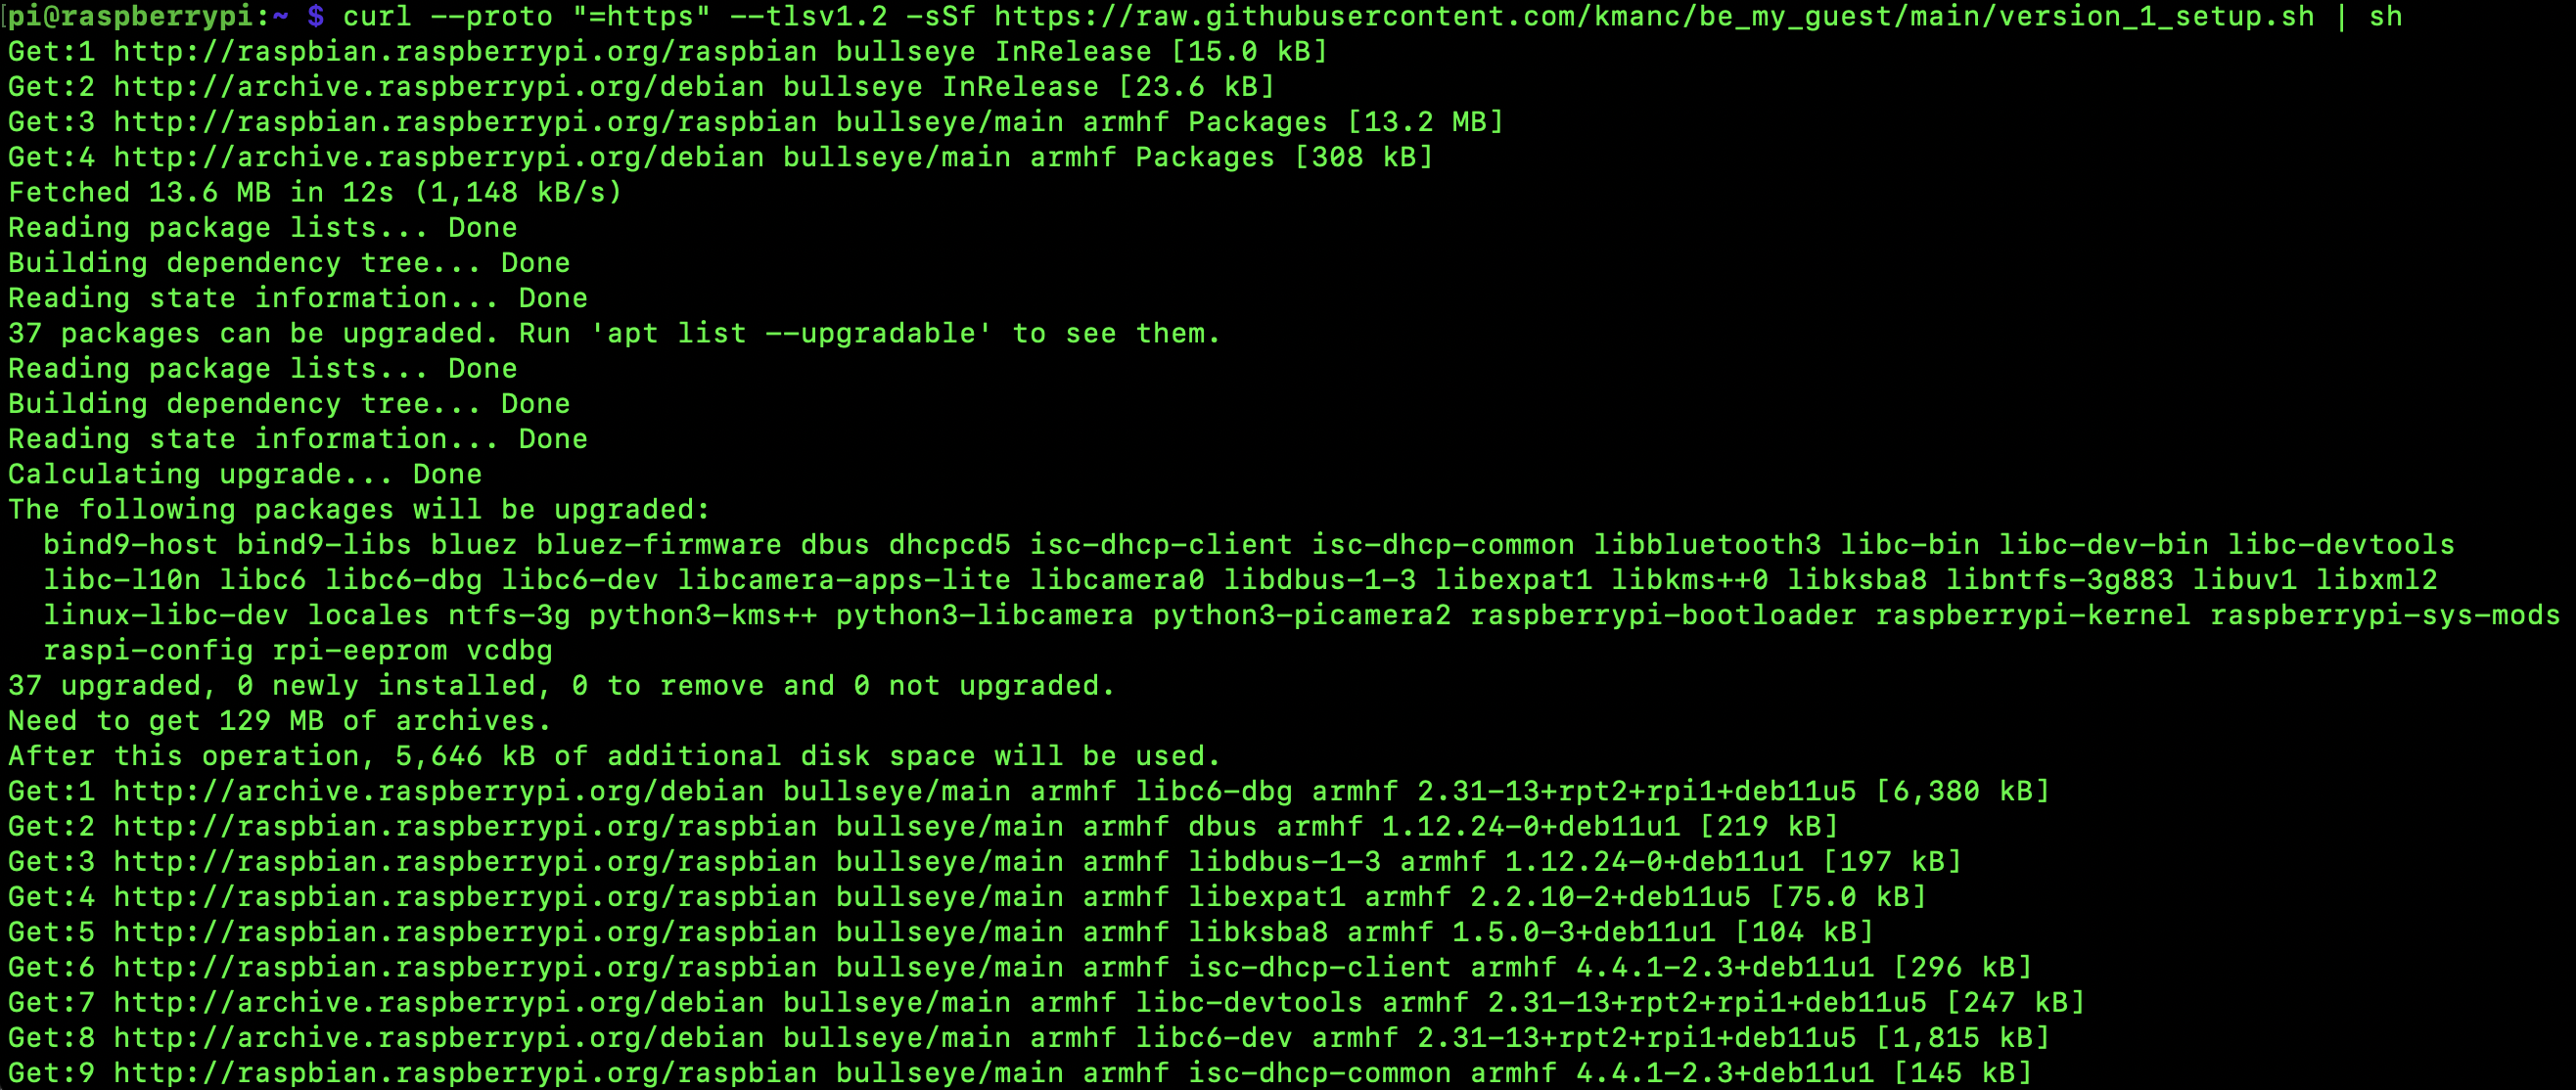
You can run the following command which will complete all the steps for the sections below, or you can follow along with the sections below.
NOTE: You’ll need to fill out your config.ini file either way (the very last step at the bottom).
curl --proto "=https" --tlsv1.2 -sSf https://raw.githubusercontent.com/kmanc/be_my_guest/main/version_1_setup.sh | sh
Make it control the screen
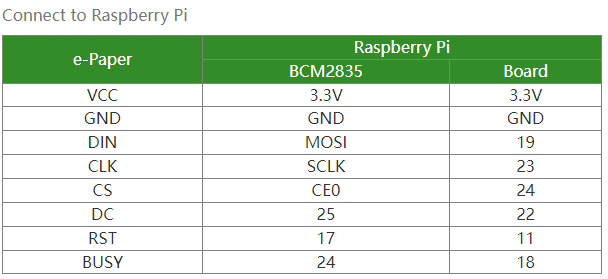
To control the screen you will have to physically connect the screen to the Raspberry Pi. Mileage may vary depending on device, but Waveshare’s documentation gave a pretty good overview of the connections required.
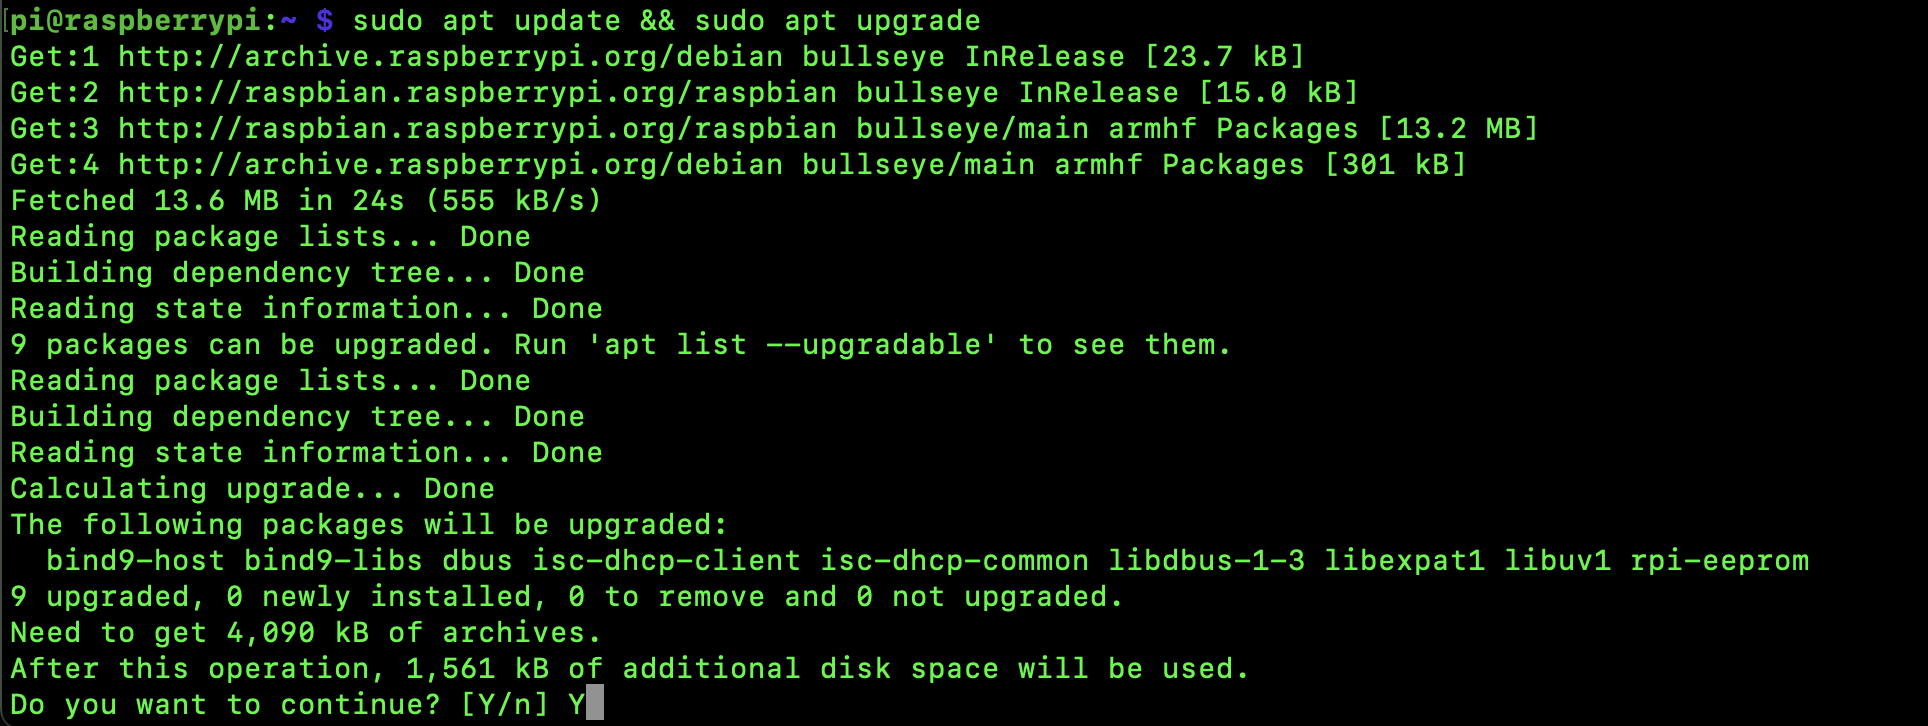
Before installing any new packages, ensure that your Operating System is up-to-date. Connect to the Raspberry Pi and update it.
sudo apt update && sudo apt upgrade
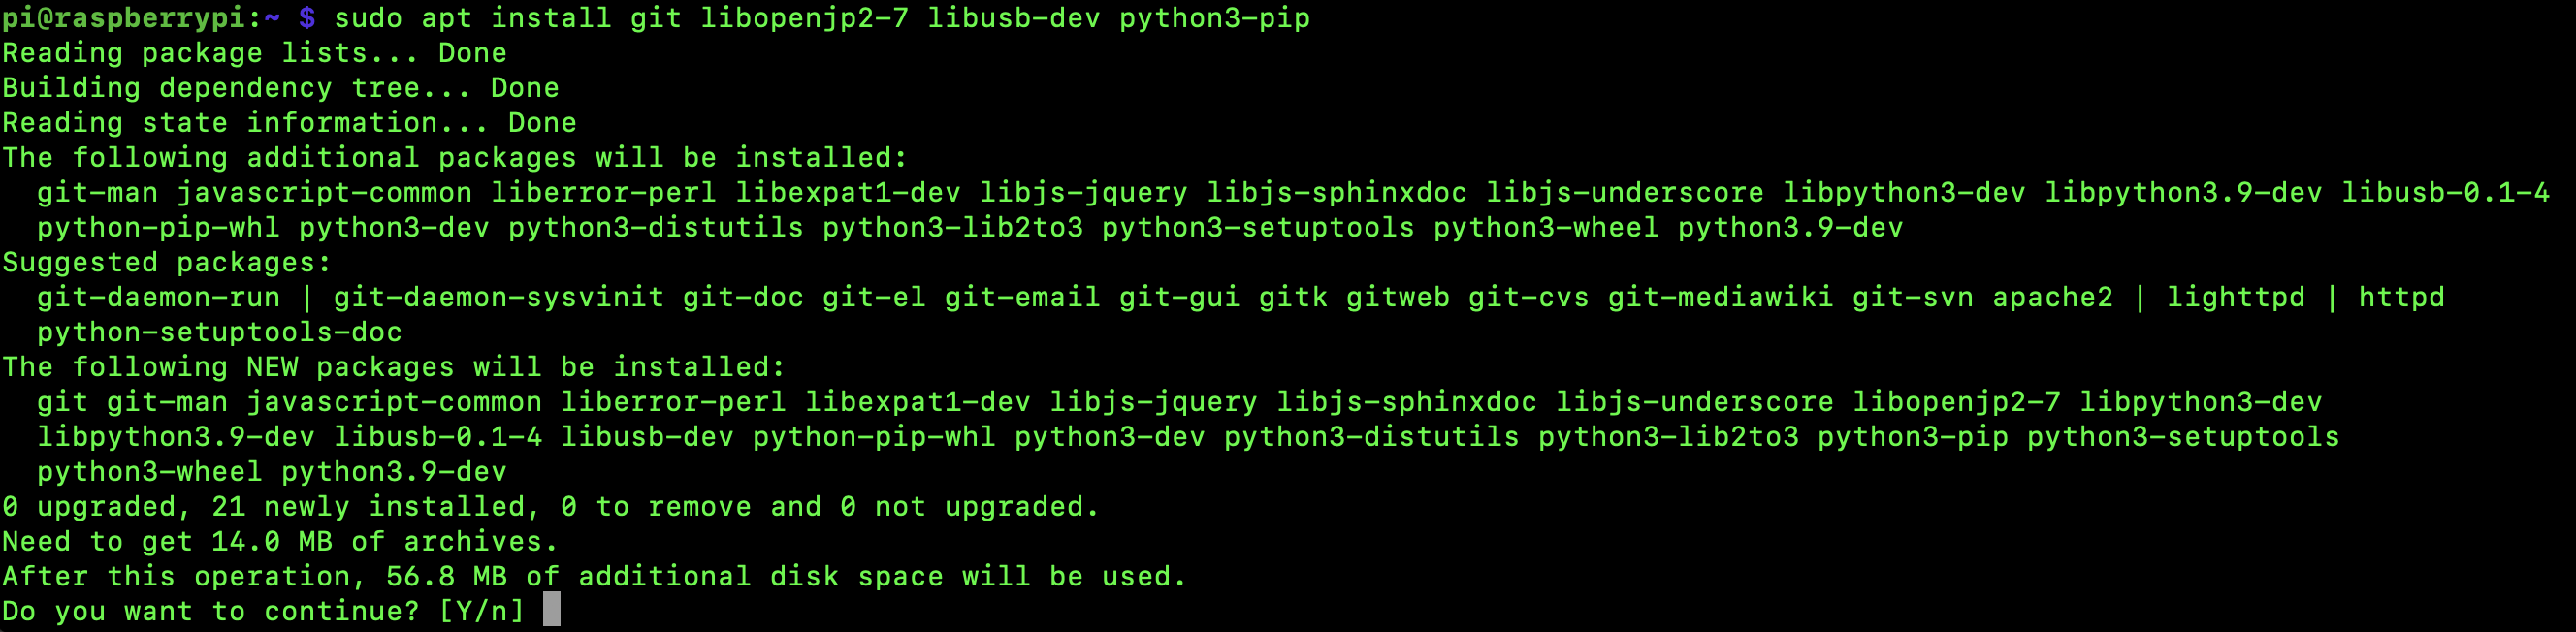
Install required packages. If using a different screen you may have different dependencies.
sudo apt install git libopenjp2-7 libusb-dev python3-pip
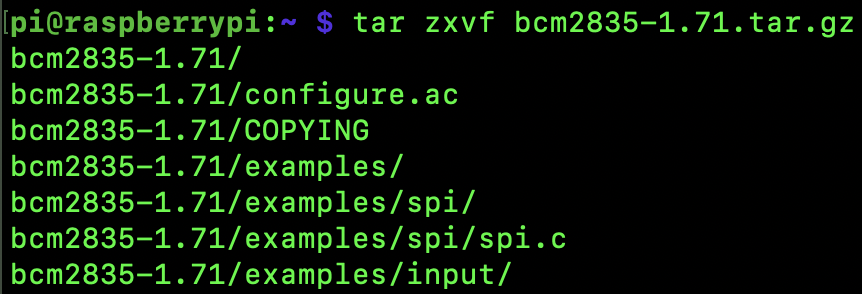
Download and install any additional software. In the case of the Waveshare e-ink screen, a Broadcom library is required.
wget https://www.airspayce.com/mikem/bcm2835/bcm2835-1.71.tar.gz

Unzip the download.
tar zxvf bcm2835-1.71.tar.gz
Change your working directory to the unzipped folder.
cd bcm2835-1.71/

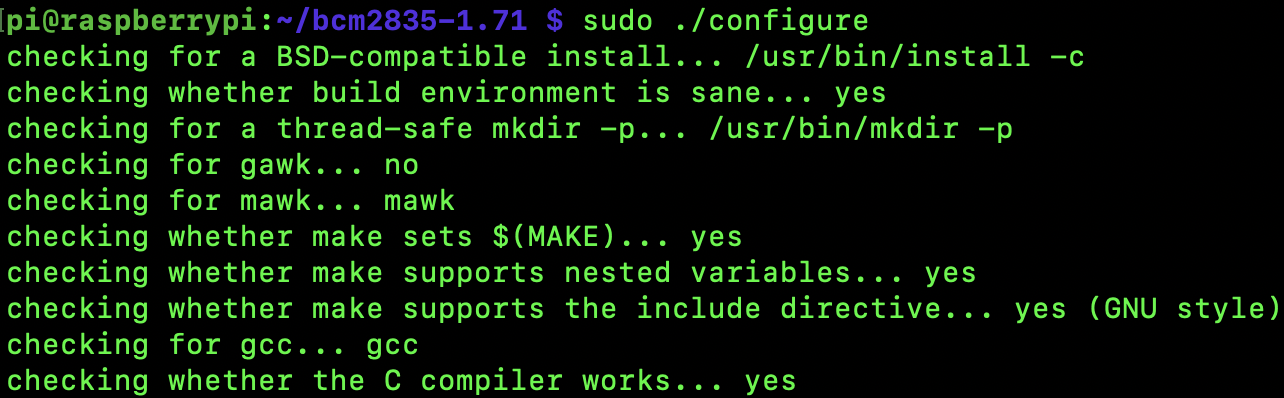
Run its configuration.
sudo ./configure
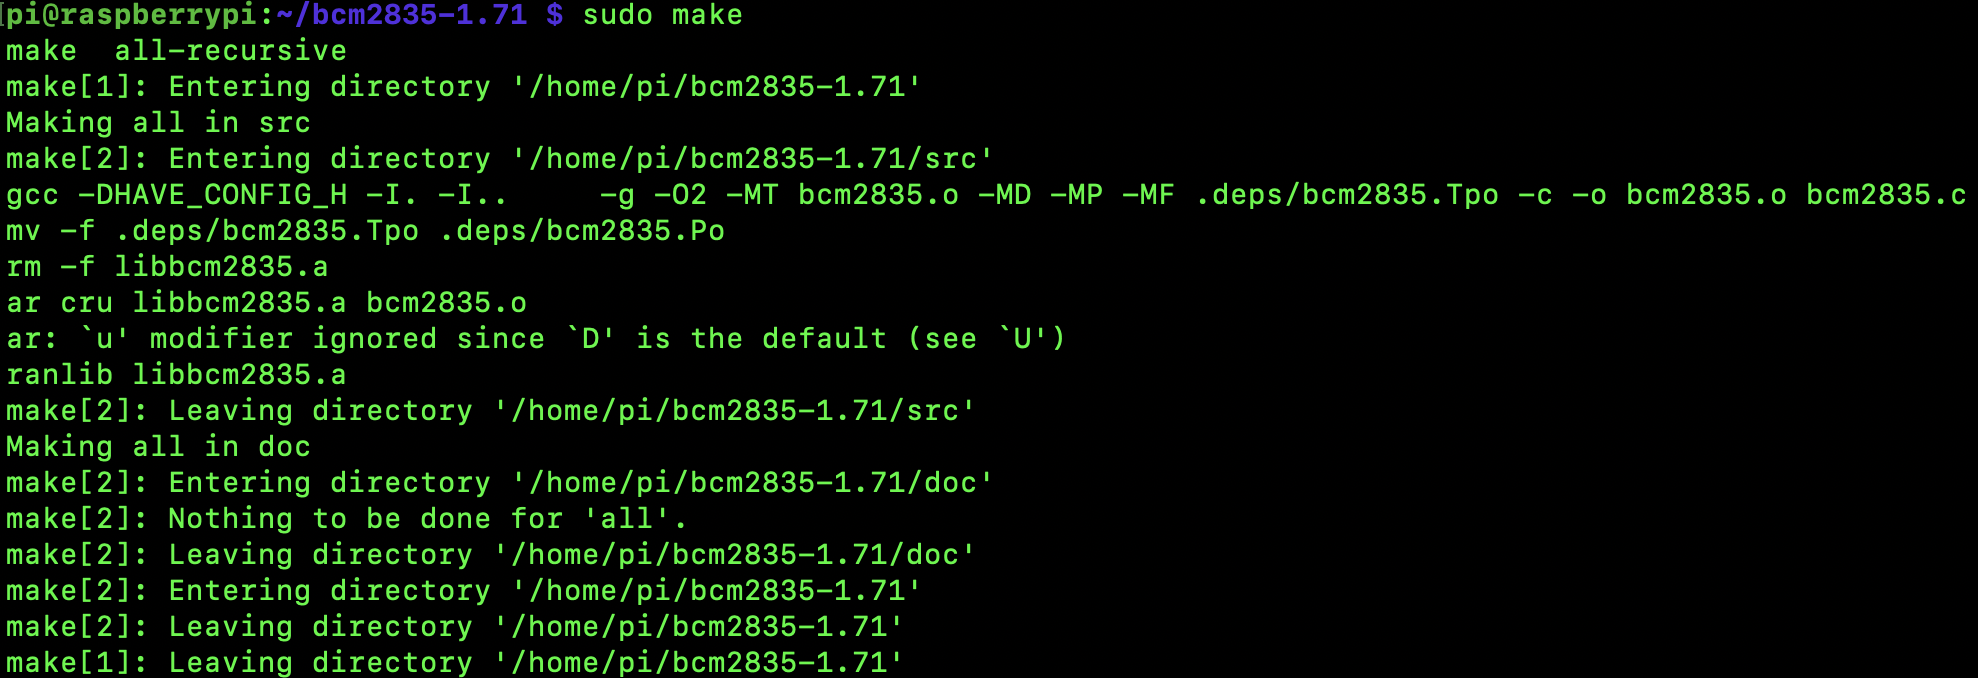
Run the “make” script.
sudo make
Check the “make” script’s completion.
sudo make check
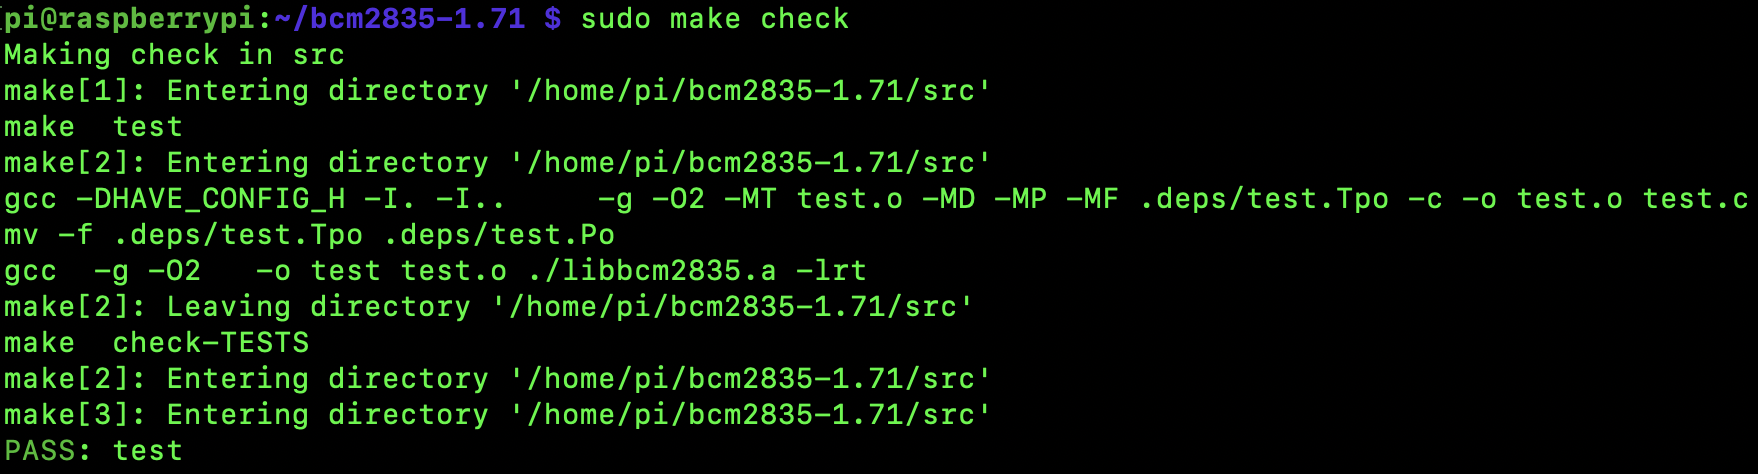
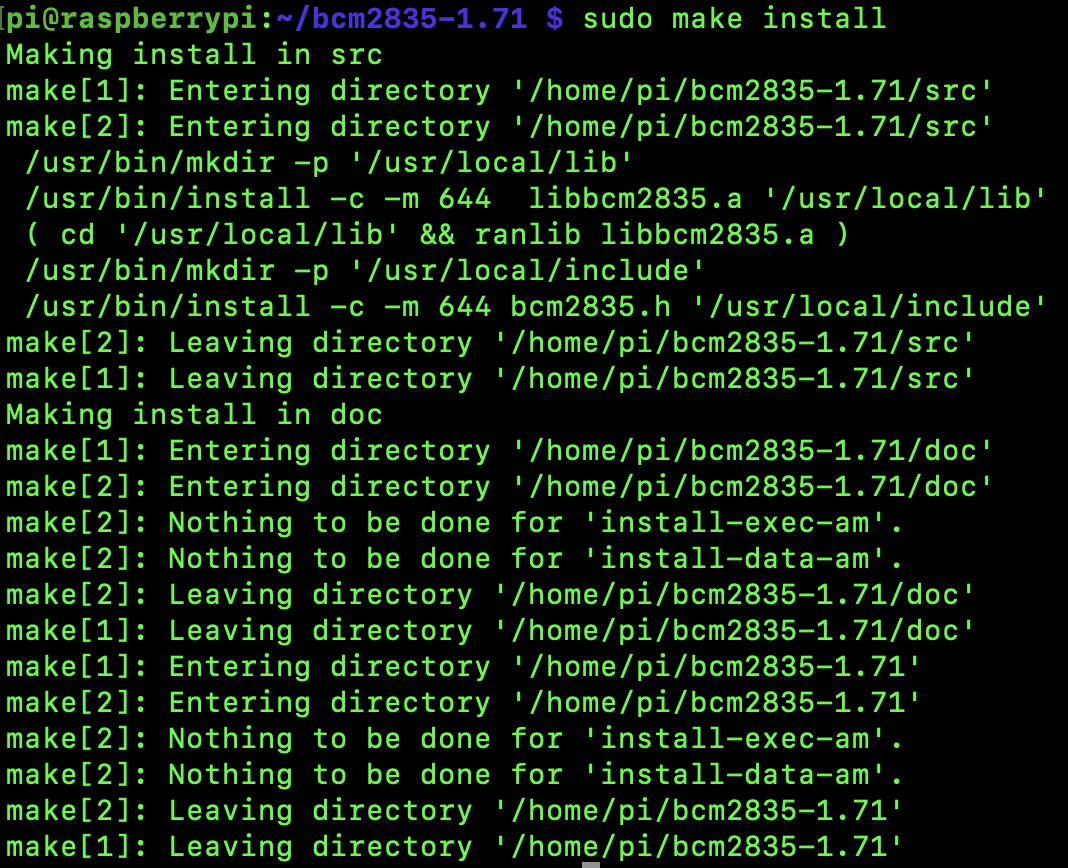
Assuming the check passes, install the library.
sudo make install
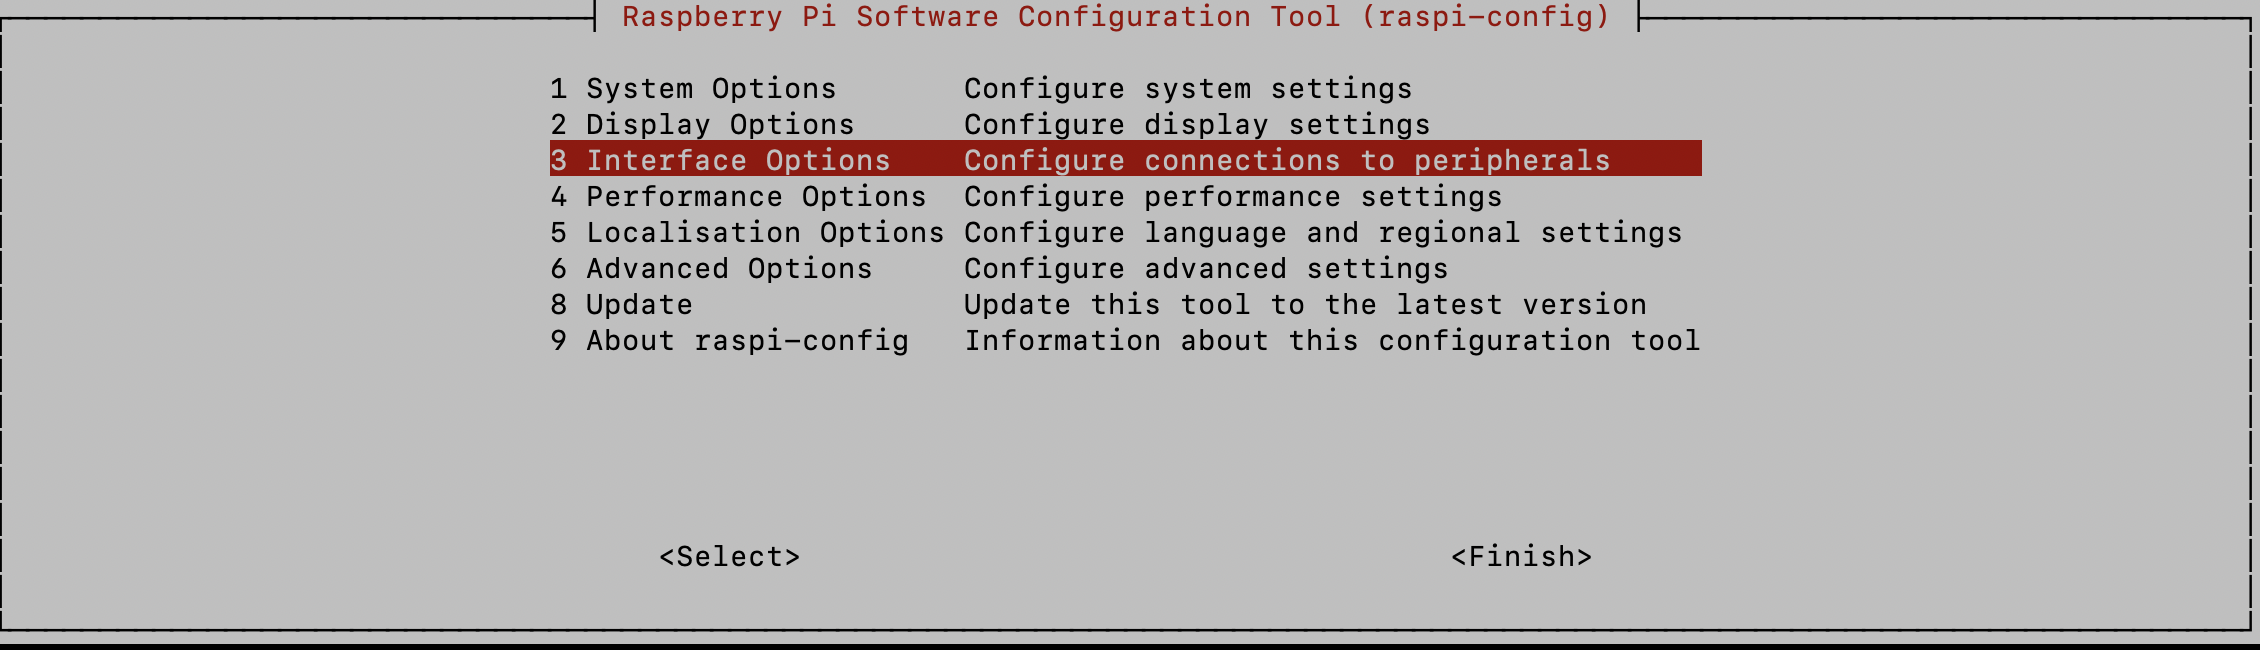
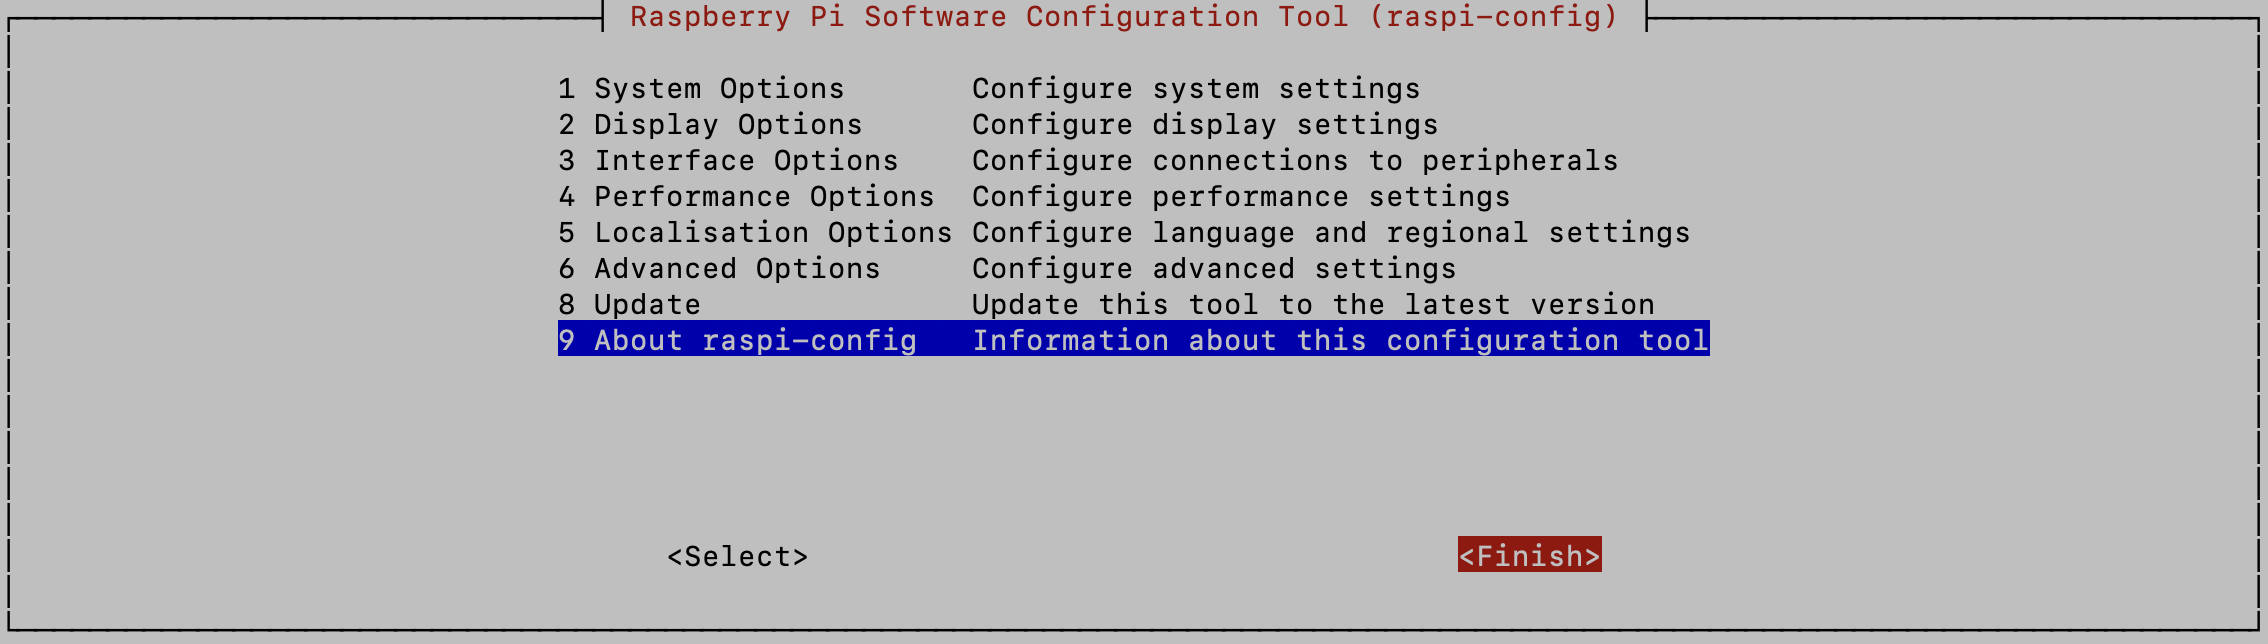
Open the Raspberry Pi’s configuration menu to enable the SPI interface.
sudo raspi-config
Choose option 3.
Then option I4 for SPI.
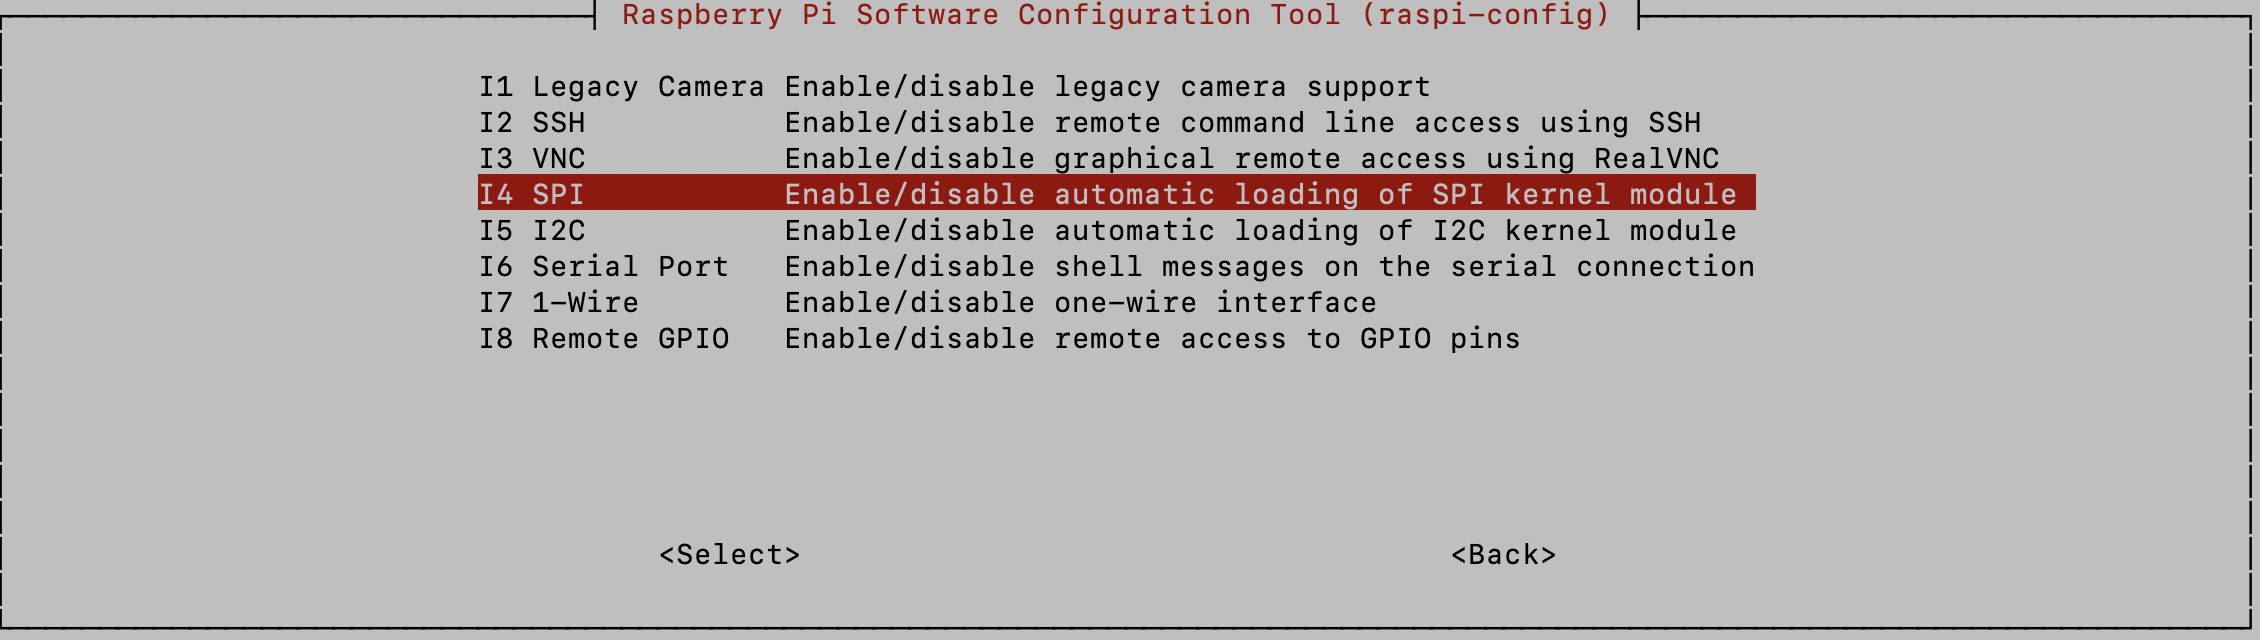
Check the box to enable the SPI interface.
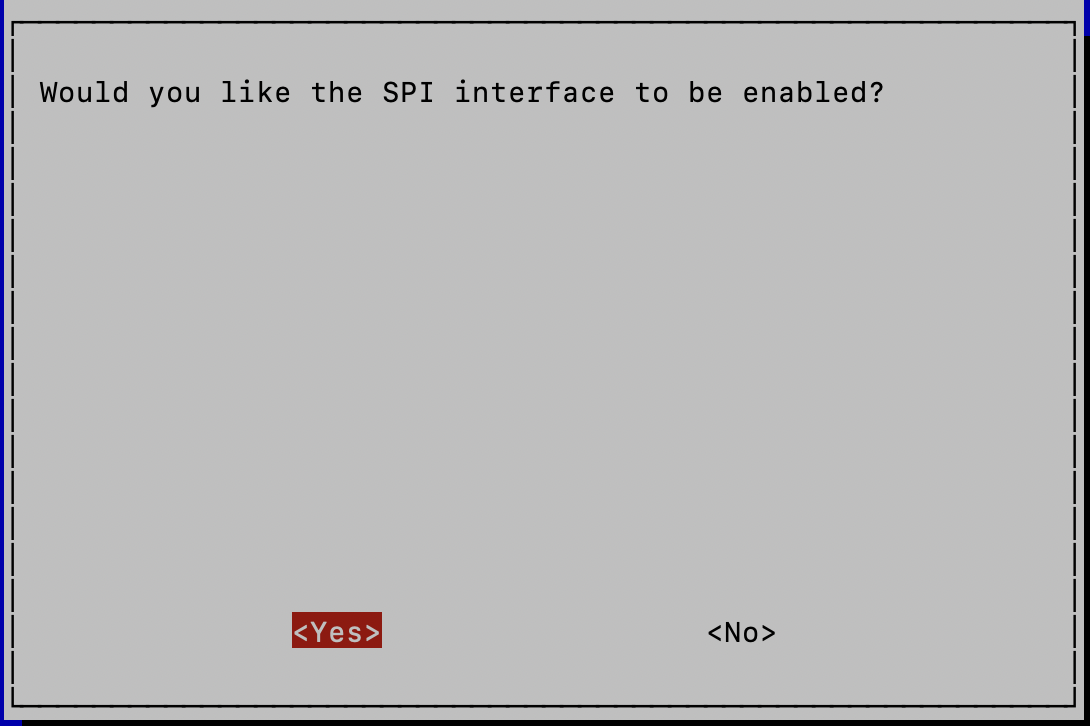
Close the option menu.
Be My Guest Setup
Move back to the home directory.
cd ~
Clone the “Be My Guest” repo to your Raspberry Pi.
git clone https://github.com/kmanc/be_my_guest.git

NOTE: my repo has two files from Waveshare’s Github repo that are specific to the board that I used. The epdconfig.py and epd4in2.py files are used to control my e-ink screen. You may need different files based on your screen.
Navigate to the be_my_guest directory.
cd be_my_guest
Set a cron schedule; I save my cron schedule in the crontab file within the project, so feel free to use that.
crontab -e

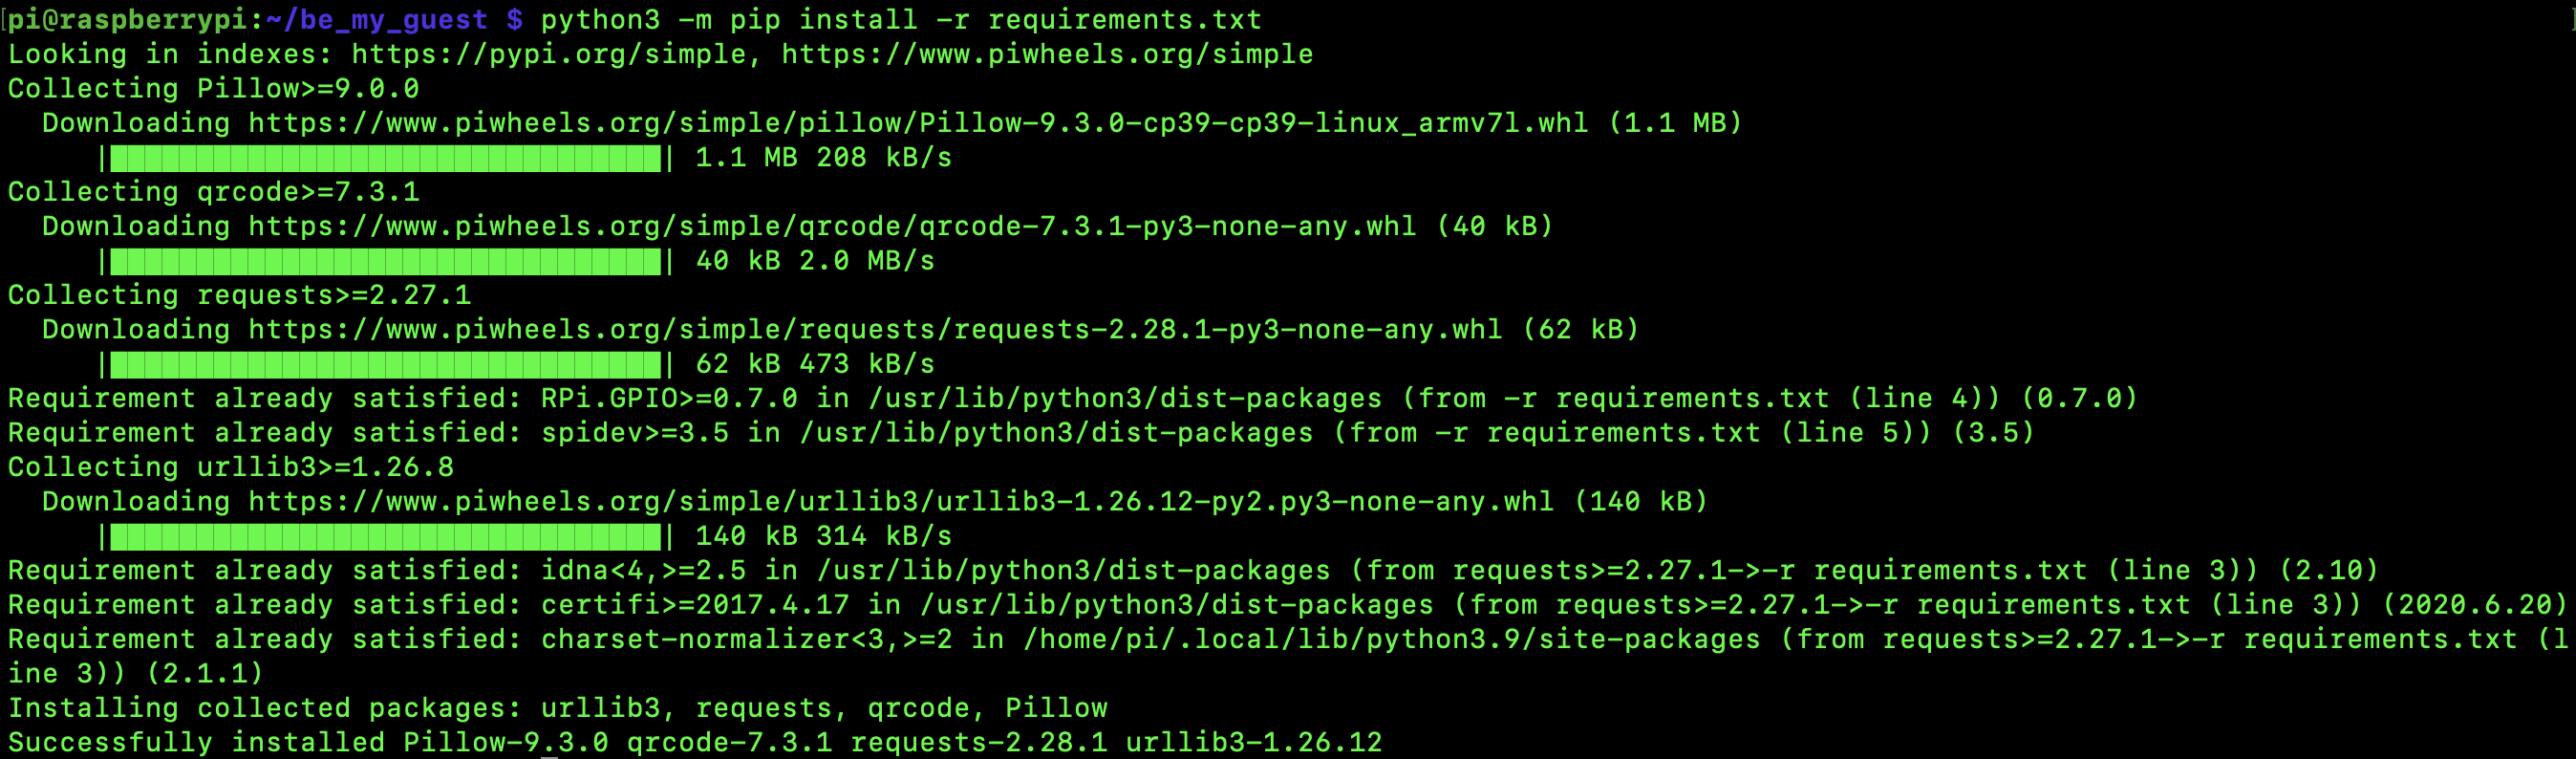
Install the project requirements (optionally in a virtual environment - not shown).
python3 -m pip install -r requirements.txt
Change the config.ini file such that it matches your network.
nano config.ini